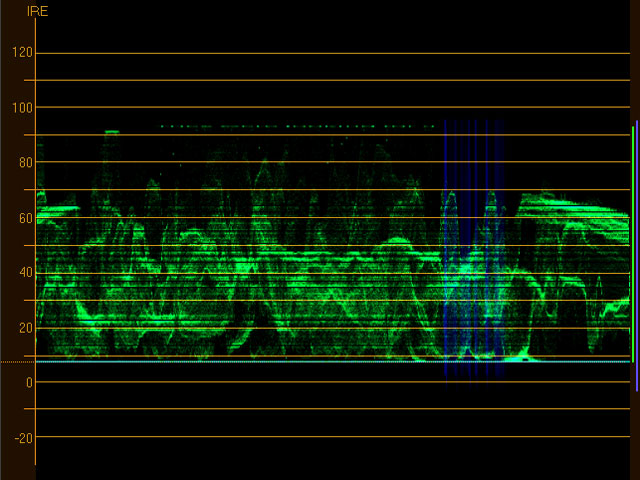
Many people like to use the waveform feature in their monitors when setting exposure. This tool helps with exposure but doesn’t tell you exactly where your shot may be blown out or underexposed. I know a ton of cinematographers that think the waveform monitors are the best thing since sliced bread. They’ve used it for years and it works for them. I prefer to use false color. Waveforms typically look like this:
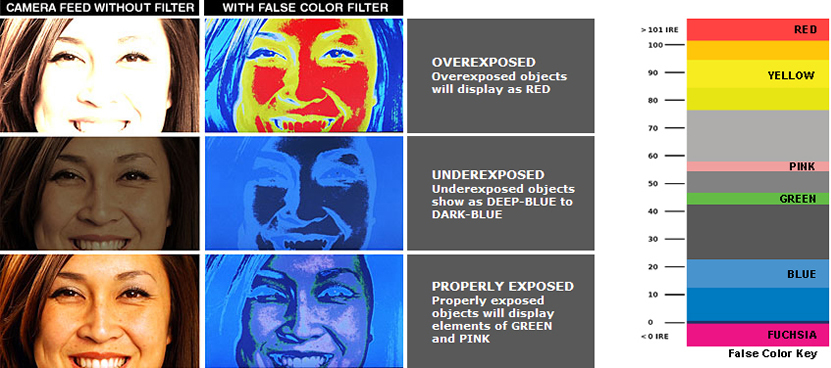
False Color basically takes your image and puts a bunch of weird colors over the image. The power of false color is that you can see exactly where your image is over or under exposed based on the IRE values. IRE is just a scientific way of saying the measurement of the video signal. Here is a helpful picture provided by Marshall and their monitors:
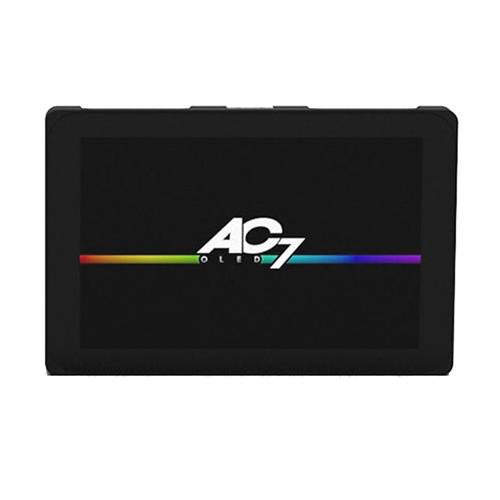
Notice that the red in the picture shows where the image is over-exposed. The dark grey is under-exposed. Based on what camera you are using, you want to find the correct IRE value that the skin tones in your image should be set to. Once you learn that, you’ll be great at setting exposure in any condition. There are some monitors that let you adjust the colors and IRE values to your preferences which is very cool. I’ve used SmallHD Ac7 to get me through. There are far better monitors out their but i’ve been happy with the false colors and OLED screen.
Other Tools You May Have Seen for setting exposure:
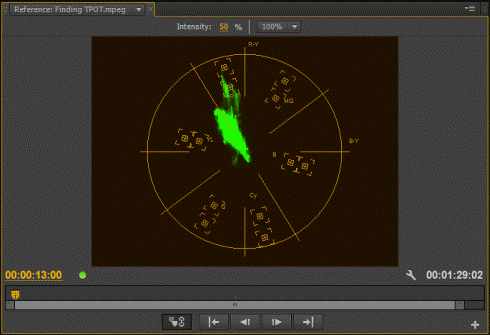
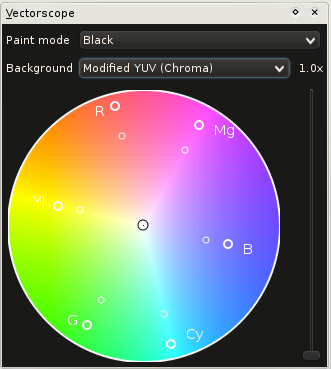
Vectorscopes show you how saturated your shot is. So that wouldn’t be the proper tool for exposure. It’s great to use for color correction and getting correct skin tone. Here is an example of what a vectorscope looks like.
One thing to note is that the vector scope has labels to help you know what colors you are seeing. It shows Red, Magenta, Blue, Cyan, Green, and Yellow.
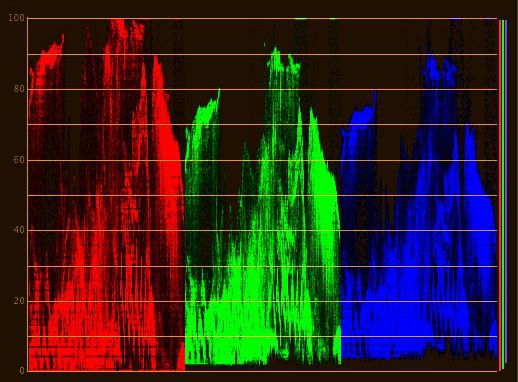
The RGB Parade shows separately the Red, Green, and Blue signals in the image. This helps in balancing shots and if you are new to color and color correction, this tool will show you exactly what color is prevalent in the shot and you can adjust accordingly.
As always if you have questions, feel free to ask me via the comments. You can also email me directly at: info@gaddisvisuals.com.
